Wednesday, April 23, 2014

Garden Journal: April 24, 2014


We're way behind on our Garden Journal, as it should be this time of year. Means we are in the Garden. Of course, we are also in the Studio a lot. We make our living as full time professional artists and just as the Spring Plantings are going in, the Spring Festivals need work! So, busy, busy!


Got our asparagus beds all weeded out and remulched, as well as the upper beds cleared. This is the fourth year with asparagus beds, however, we had trouble in the beginning, and haven't gotten a good harvest yet. Hoping the 4th year is the charm, as long as the bitter cold winter didn't kill them. 

 Warm weather is tea weather. Here is a jar of sun tea, with a mix of green and black and some lemon ginger, and those roots are sassafras roots. You shave some into the tea for flavor. We don't use much and use it very rarely, only a couple of times a year. It's been shown that sassafras carries a very strong carcinogen, so caution is best. 


Warm weather and the potatoes had to go in. 


 The weather also meant the rest of the plastic "green house" covering over the chicken run off. It worked great and we will store it carefully for next winter. We supported it on scrap wood frames.


Warm spring weather and April showers mean flowers. So, we are cutting for indoors. 


 Spring also means frosts and tender plants! So we sometimes cover the blueberries with old flannel sheets and taps, and the delicate flowers with buckets.


Of course, the variable temps mean all sorts of new life coming forth. Our first salamander of the season.


During cleaning, we found an old seed source. A garland of marigolds from 1988. A special gift from teacher in a Hindu Temple, during a time spent studying there. It's been dried and stored all these years, so we will see if we can get any to germinate. They are likely large lion mane type species.


 Everyone loves the warm days. Our young pullet hens, chicken littles we call them, are getting some excercise time in a play pen paddock while waiting for their grow out coop and run to be built next to the Chicken Bigs. Our young Girl Child Little is getting some sun and some chicken little time with a Buff Orphington in the lap. They are known to be a breed with lots of cuddle, and it makes her very happy.


Good warm weather means compost turning. On the left is the bit I turned a couple of weeks ago. Turning it into the one on the right, and adding some carbon. Collecting masses of earth worms from it while doing so, in the white bucket, to feed the chickens of various sizes.

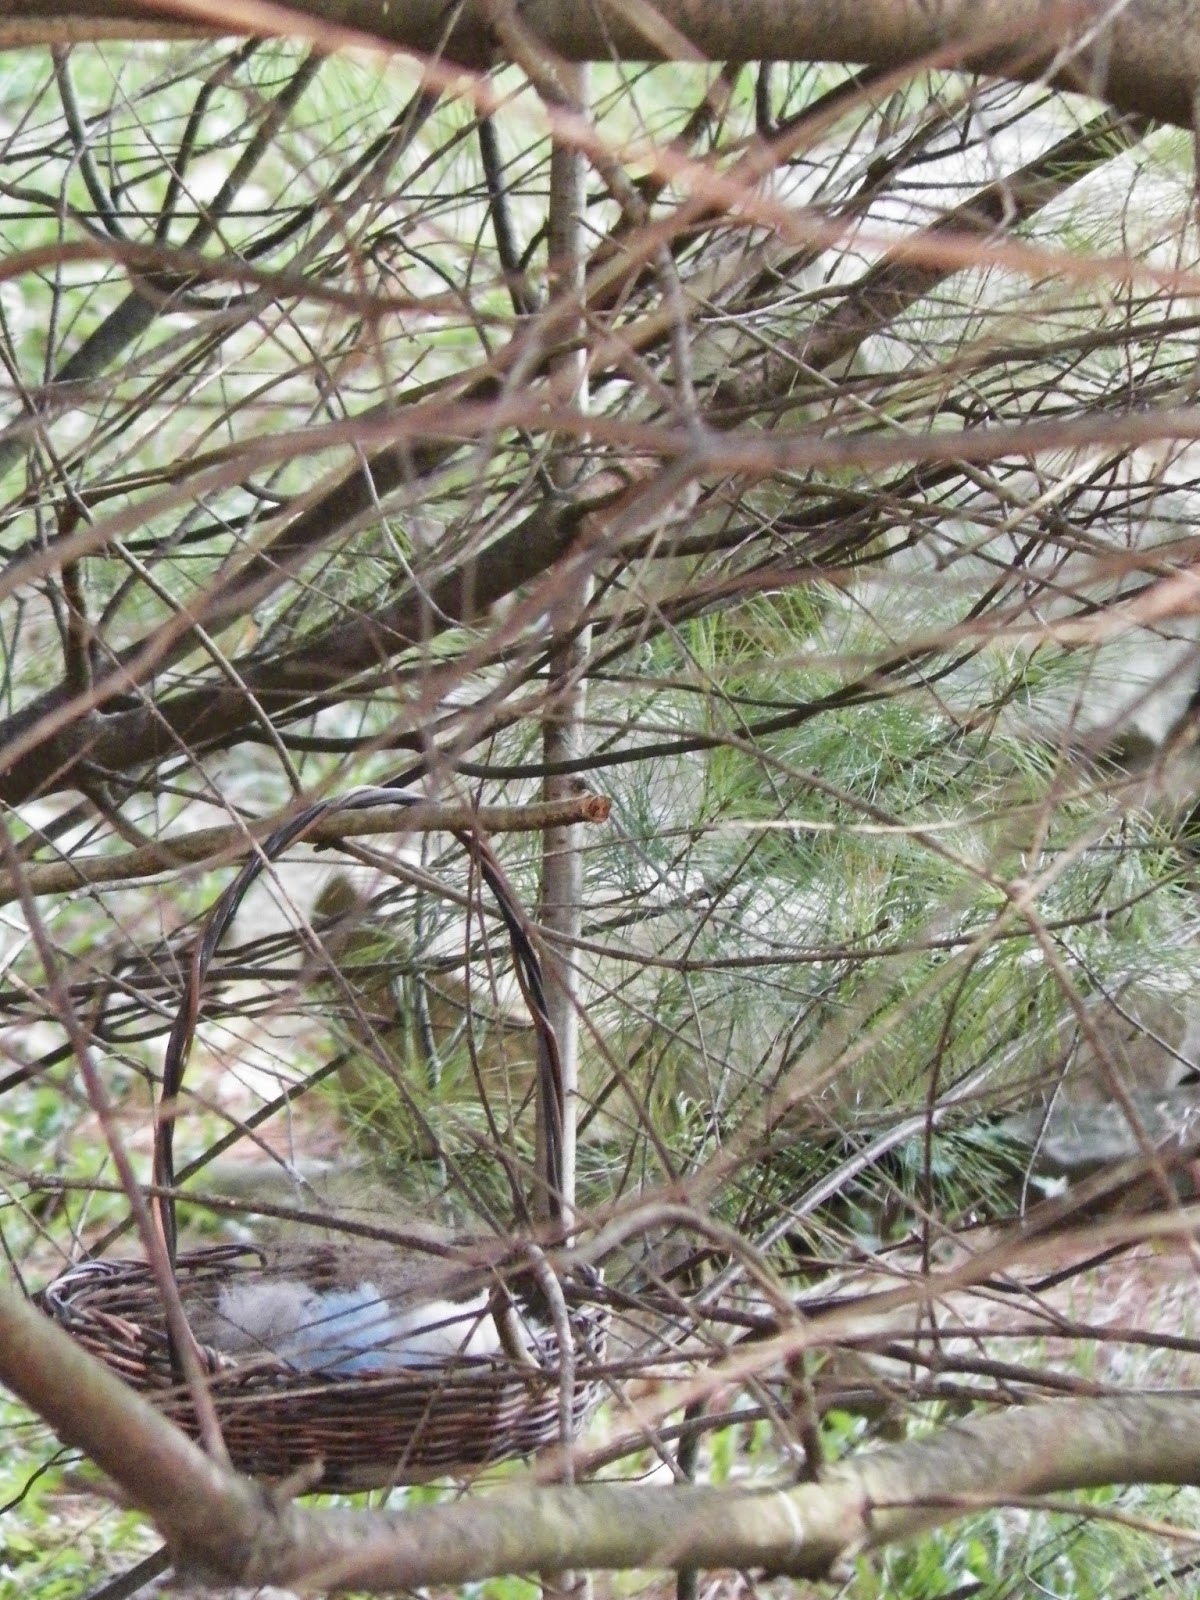
Every one is out enjoying spring. The Blue Jay couple is building a nest in our pines. We can watch them studio windows. So we put out a basket of nesting materials. Always use all natural, bio-degradable materials. We use hair from our brushes, some unspun wool and some hemp & sisal cordage. They haven't taken us up much on the offer. Some birds will, others...not so much. Jays are flighty. Pun intended. 

 The blue jays aren't the only wildlife enjoy the spring weather. Large black bear scat found in the yard, along with a torn up bag of trash. A neighbor said it has been seen a few times. Facts of life in the mountains. We aren't fazed. We build our projects thinking about them. They lived here first.


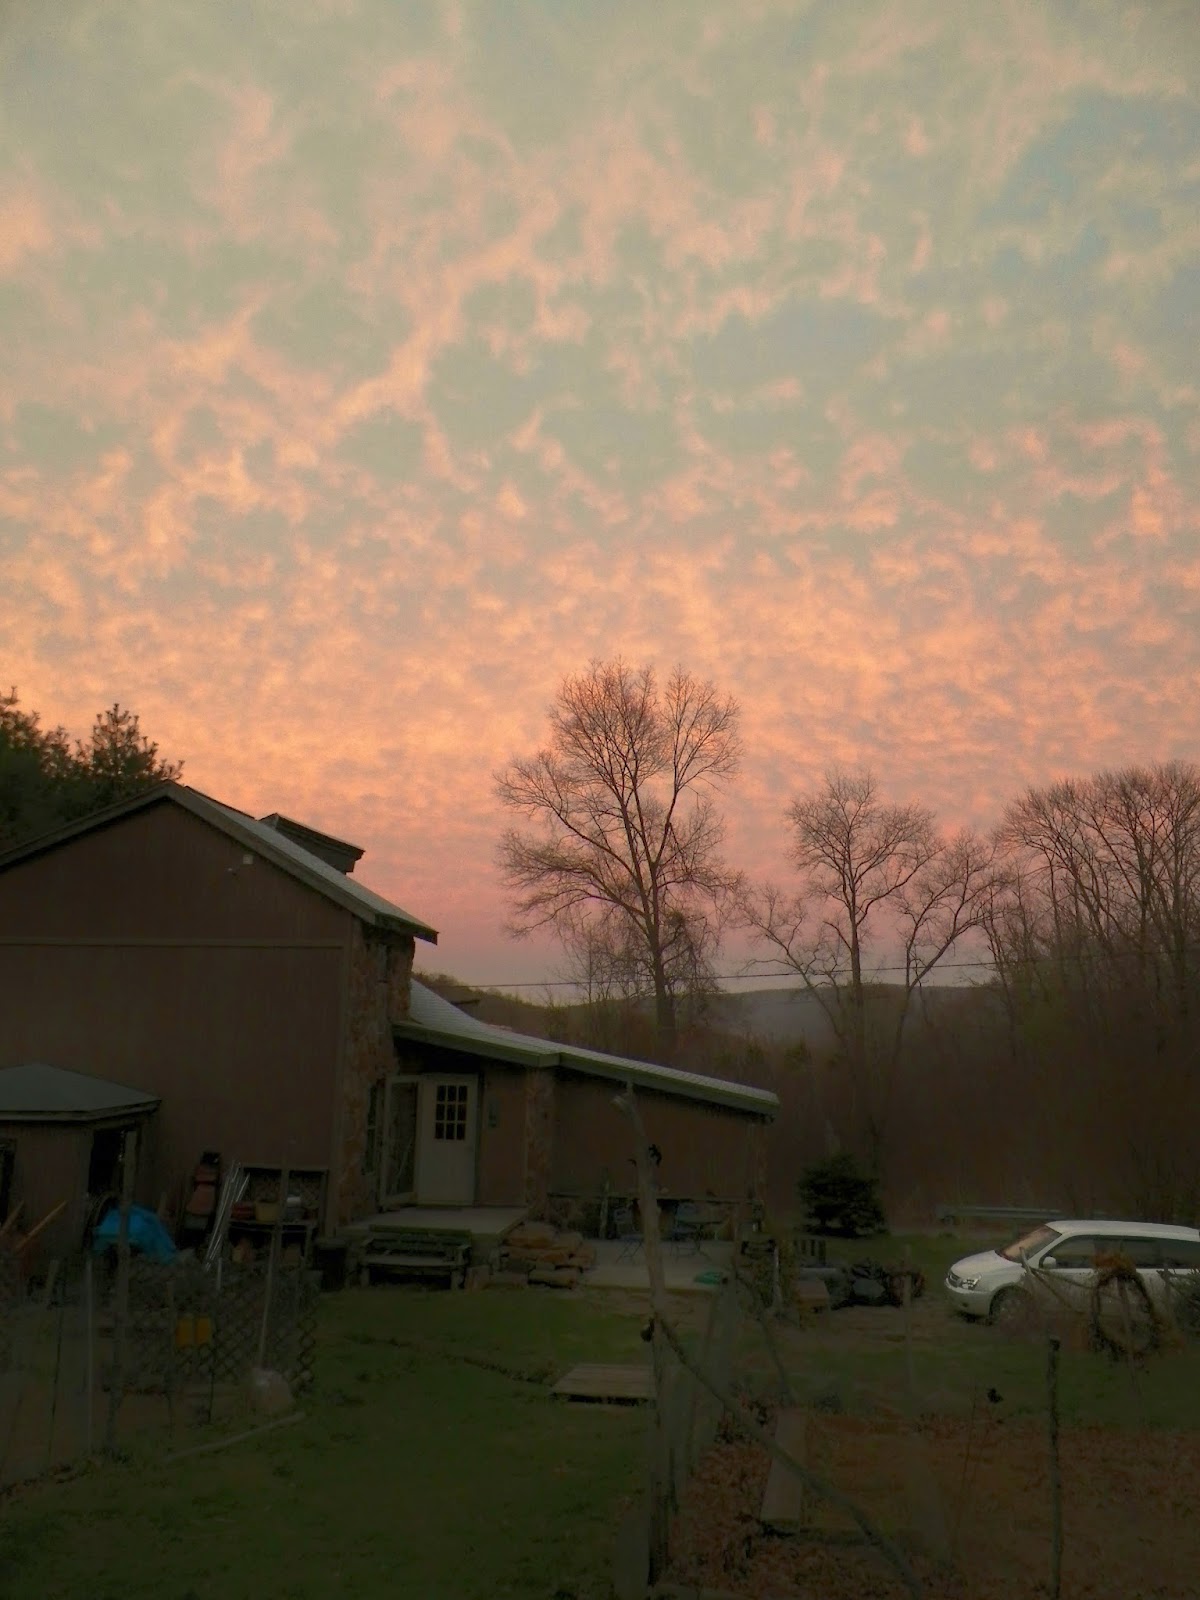
 Spring certainly means lovely sunsets.

Of course, Spring means Easter, and we found where the local Easter Bunny finds the eggs. In the Chicken Coop of course!


Naturally, we did some natural egg dying.


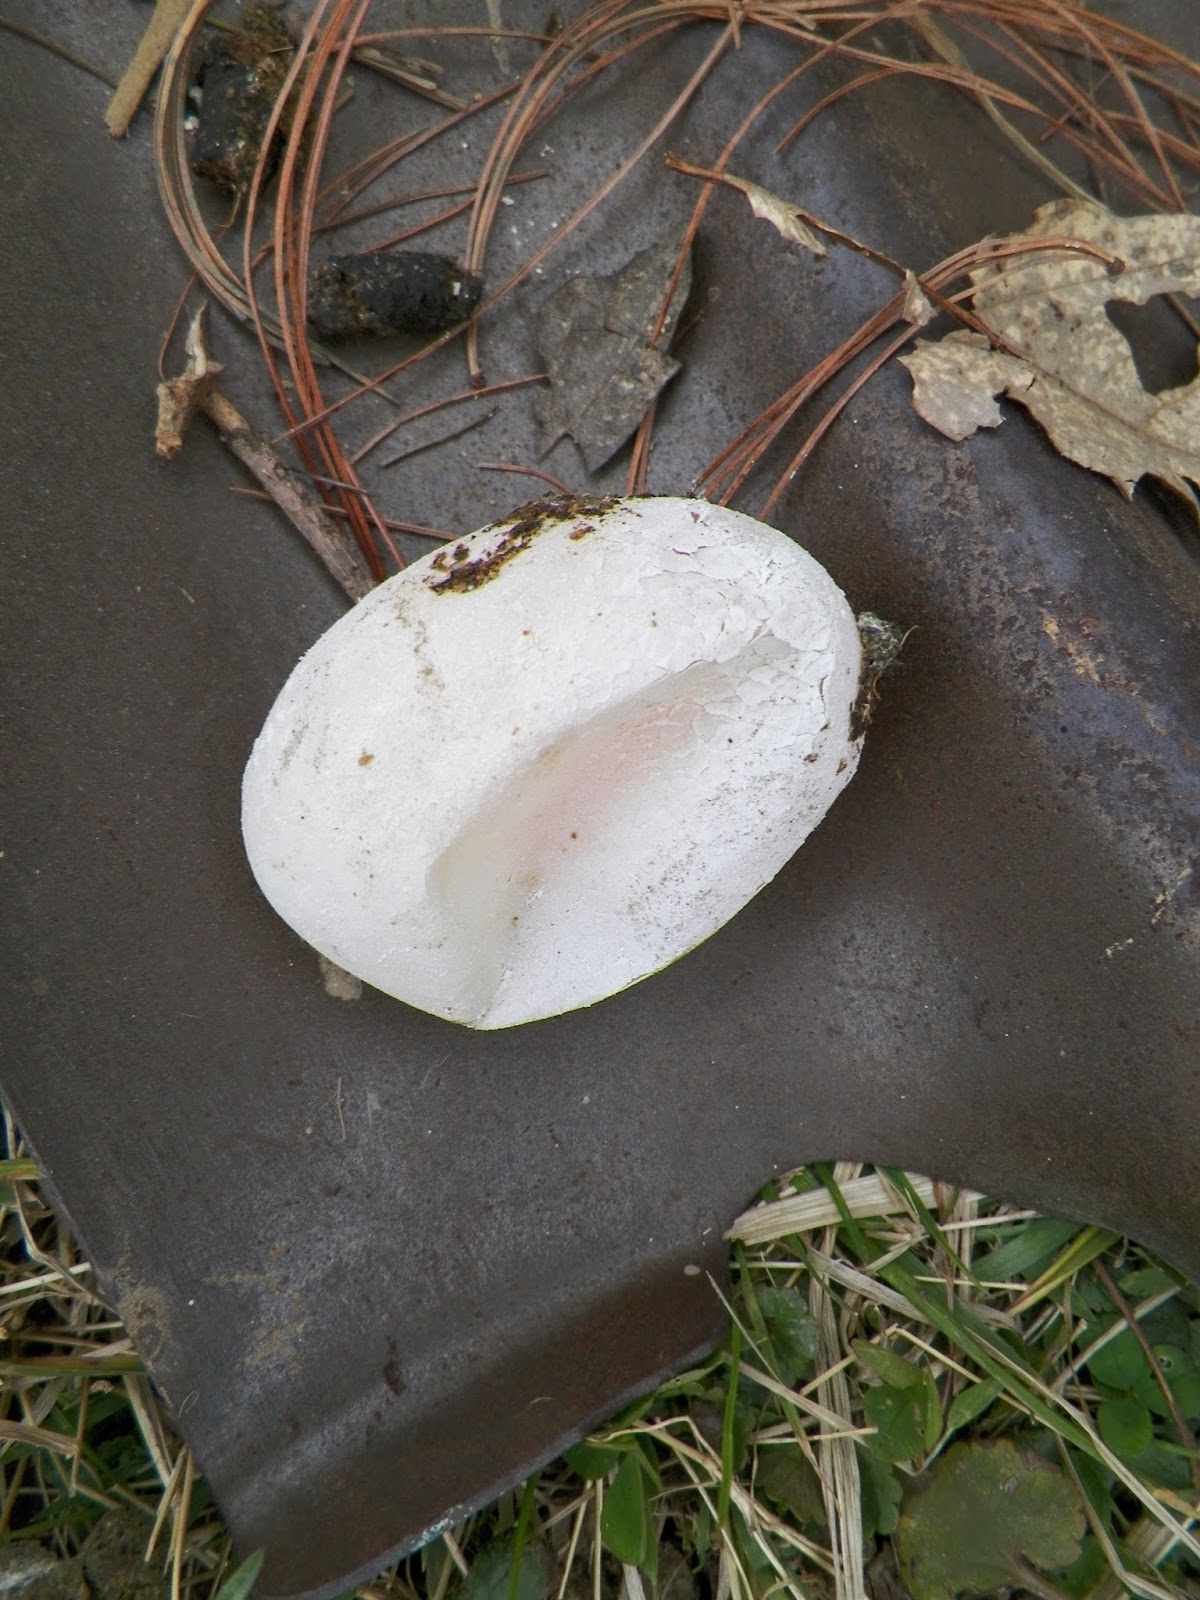
Sometimes the eggs aren't so pretty! Found one of the only few malformed eggs ever from our chickens. This one was under the roost, where she must have accidentally laid it while sleeping. It wasn't fully shelled yet. It happens.


The back corner behind our main coop and run. It was left empty on purpose as part of our expansion plan. Adding a Grow Out Coop and new run area, by roofing it, and wiring it in. 


On the day we set the corner post for the addition, our daughter took a tumble on stone steps, carrying a basket of four eggs from the Chicken Bigs. She was ok, if bruised, and all the eggs were shattered. We scooped them up and used them in a traditional cornerstone type offering to the construction. So, four eggs and a small measure of our end of the day beers when into the hole! We like the rhythm and relationship to such traditions, and tend to incorporate them into our lives.

 Step one, build the back wall and hang the rafters. We will write up the whole coop build in detail one day. So here it is getting started. We bought new rafters of 2x4 treated, but walls were pallets and all other lumber is re-purposed. We spend as little as possible on coops to make the eggs cost efficient.


The back wall is North, and built of pallets. Over that goes a 2 foot wide section of 1/2 inch grid, with half buried in the the footer trench. Over that goes tar paper, and then ply. Stones and soil fills the trench.

 When building the entry wall of the grow out coop area, we needed a wooden base for the door frame. In our salvaged wood pile is some old bard timbers. Pulled from a downed pile possibly from the late 18th or early 19th century. Amazing really. So a big timber, with adze marks, and beam notches, from 200+ years ago, saved from the fires, and used in our chicken coop.


We did the a similar process to make our main coop and run. Pretty good looking. 


Everyone enjoying the sun. Rosie the Cat of Three Colors is enjoying her cat grass as well.


Spring is in the air here. Tomatoes are busy growing on our bedroom seed rack. Also pallet built. It will still be a while before they can go in. Our final frost is May 15th...give or take. However, there is lots to do before then, and not nearly enough time to do it all.


Friday, April 18, 2014

The Gentle Art of Composting Part 2: Passive and Easy.

Here is our second post on composting and the most important one.Part one is here: Composting Part 1: Active & Hot

Just do it. So, keeping it simple. we use a three bin system, built of pallets, which we picked up for free.  Many people worry about the content in the wood. If so, do some research into the differences. I usually just screw and wire them together, not using painted ones. It's a compost bin. It's going to rot and degrade. I fix it when it does.


My Happy Place

This is our main compost area. It consists of three pallet bins on each side. On the left is storage for the leaves we racked up and litter material (mixed leaves, straw, and pine needles) from the chickens. The last bin we use for weeds with roots attached. We just pile that up and when it breaks down we use it for leveling and yard fill, not in the garden beds.

On the right is a three bin system for main compost.
Each bin with a sign on a nail. Feed Me. Cookin. Use Me.

The sign on the posts above. Latin motto. Omnia Mors Aequat. It means, "Death Makes Us Equal". Sums up our feelings about compost perfectly. We would love to be composted upon death.

So, the bins are made of pallets. Here is some more detail.

Starting a new pile on a thick layer of leaves.

Some of what was left of a Cookin Pile from over the winter.

Compost Shed Area.

The shed on the end is for tools. I keep a plywood cutting board for chopping, a box for any trash,and an old coffee can to collect broken glass in, which is a constant issue on our property. I also store some tubs for sifting into and the sifter, built of wire screen and wood. The main tool used is a big pitch fork for turning, tossing, etc. Also, to build, we stand the pallets up, then use long screws to mount together the backs. I might throw some scrap lumber across the back to stabilize it as well. Then,  wire the fronts on, and make "hinges" by using scrap electrical wire. We use the big white wire with copper inside called Romex. I raid demo piles and if I see any I grab it. It's got three wires inside, all copper, which doesn't rust out. So I split the Romex with a utility knife and use those. Works great.


Sifting screen. Made it of to small of wire grid the first time. Want to make a new one with bigger grid.
A favorite activity. The compost bucket next to the bins ready to be emptied. To a gardener, that's a beautiful picture.

The Use Me bin. Broke down all winter. Used for potting soil at the first of the season.

Tie wires cut from old electrical cable.

Bins in action. In the middle is Cookin. On the right is the start of Use Me. I rotated piles between bins and move the signs as needed. If I decide to turn them, I just flip from one to the other, or pull out to the front, and pitch back in.


 So, the hows and the doings of.

Building a Fresh Pile. Lay a layer of branches to promote drainage. Then a thick layer of leaves and straw. Use an indoor bucket. Five gallons. Green. Big sign on it that says "Compost". Collect kitchen waste. Please note. We compost everything. Everything. Even the bread and meat that many guides say not to. Everything. All goes in the bucket. Now, before chickens, more went in. Now, not so much. We don't feed the birds meats for the most part, and some left overs, if we have them, so it takes longer for the bucket to fill now. Still, all of it gets composted. This includes household paper products. Tissues, paper towels. We can do this for several reasons. One is the passive method means a LONG composting time. So lots of break down time for the pathogens that meat might supposedly grow. However, it may be that the fears of composting meat are over done. We do it right. If I have meats of any kind, I bury them deep in the pile. I have, in fact, even buried a ground hog in there. Two is that in a rural area, if the raccoons get into my compost, it's not a problem. They are just turning it for me. So, we compost....everything.

So, layer of brown matter, and we dump a bucket of scraps in the middle. Over that goes two or three big fork fulls of leaves collected each Autumn. Now we have the leaf litter from the chickens, so adding that, which has some manure and additives to it. Over a 3-4 months, a cake of carbon (brown & crunchy) and nitrogen (green & squishy) is built up. I might periodically throw a pile of seed and root free weeds in during the summer, or a basket of grass cuttings. We get huge stands of jewelweed, and I pull some of that and throw it. Once the bin is full, I might turn it into the adjacent bin, and mix more thoroughly. Keep your ratios right. See my previous post on the subject, Composting: Part 1, or even better, go searching for many of the detailed guides out there, if you're worried. I have read them. I'm not worried. More brown than green. Check. Keep air in it. Check.

Then, we let nature do what it does. Passive. Fill it up and leave it. The cycle of it it is right in time with our gardens. Start filling one in Autumn, do so all Winter. By Spring, the big clean out from the chickens gets mixed in. However, the pile that I started over the Summer, is now broke down totally, and we have a cubic yard of compost to start with, in the Spring. The one I start building in the Spring, will be ready in Summer, and I will start another one then.

Now, there is one more secret ingredient.

Human Pee. Yep. Just piss in the pile. As a male gardener, I do so directly, when outdoors working, or even just to keep from running my septic system during the day. Periodically walking outside, to go pee on the pile is a brief break of time in my day. All seasons, all weather. The black capped chickadees are usually there. I like birds. We rarely, but occasionally, collect night urine in a bucket, like a chamber pot. Did so over the cold winter to keep the nitrogen levels very high in it. We are installing another pallet bin area, with possibly a floor, and a roof and a bucket seat system for female gardeners. Maybe a nice flower box and a dry space for paper goods. We won't collect fecal matter for now, but that is possible as well. Composting that is done in a passive manner as safe for that, but you might want to know who is going in it, and it's best used not on rooted crops. If we ever do, I will put it around my fruit trees.

So, there you go. When done, black gold.


The sedimentary layers of the piles with the imprint of the pallet front.
Black Gold.

The point is composting is simple. Nature can do most of the work. If it stinks, add brown carbon (leaves). If it's to dry and isn't breaking down well, add less. Turn it over if you want, or use the worm turned stuff at the bottom and throw the rest back in. It's not alchemy and if your situation allows a toss and let it rot process, do so. If you use enough brown and crunchy materials and you're in a more rural area where you don't get rats, etc, then fancy bins and complicated formula are not  necessary. Once you understand that, and go for it, it gets easier. If you understand the concept, you start looking for additives and get excited to throw them in. We bring home maple leaves to sweeten it up, because our oaks are acidic. We add hardwood ash from the fire pit, and long for cases of rotten veggies from local stores. However, mostly, we pile it up and let it do it's thing. The sifted material in the hand picture above is going to be made as side dressing, planting hole additives, potting soil, or compost tea for the plants. We aren't making a lot, but we make what we can, and it's all ours. Like baking. Like Sourdough. Your compost is alive and loves you...well, maybe not that last bit, but feed it and it will feed you back! If you make your own potting soil from it, it gets you kinda giddy even! 

Leah the Garden Gnome giddy for her homemade potting soil!
Keep Composting!

Friday, April 11, 2014

Garden Journal: April 11, 2014

Been busy days here on the homestead. Spring is sprung and that means between our home business and property chores, the journal is lagging. So catching up with some pictures.

Post cleaning cast iron ready for scrubbing.
 We cleaned and re-seasoned our cast iron. We cook daily in old cast iron, family heirlooms. So there were in dire need. Put them in the oven on self cleaning cycle. Once done, they are covered in rusty powder. Then after brushing out doors clean, use steel wool to scrub hard. Then dry in oven. Then oil with Flax Seed Oil. There are lots of sites out there, and we aren't going to do a blow by blow, however, Flax is best. Lots of research on that. Most any food grade oil or fat will work, but flax works due to special chemistry. Use flax.


We did the big seasonal process at the compost areas. Flipped the "Cookin" mass to the neighboring bin, turning in the process. Then, the bin it was in, becomes the new "Feed Me" bin. Over the layer of broke down compost inside, add a thick layer of leaves.


Over the layer of leaves for a base of the new "Feed Me" bin, we add a couple of mixed layers of finished compost. This is an inoculate of bacteria and microorganisms to get the pile going.


Just a few days after turning the "Cookin" pile is down over a third of it's mass and still hot. I flipped it back into the center later, and will likely turn it once more. 


In the process of digging into the leaf bin that we pull from for the carbon, I found a surprise. A mass of frozen, ice incrusted snow and leaves. This is from weeks ago. That pile of leaves spends hours everyday in full sun and it had been in the upper 60s F for several of those. A surprising testament to the insulation abilities of leaves. Got us thinking about root cellar type experiments with storage.  


 Everyone is out and enjoying the sun. It has been a very long winter. Rosie the cat on the deck. Of note, our cats are indoor pets. Best of them. Best for the environment. The deck is hers and she spends most of the day there. We do have to watch, as she was semi-wild when we bought the home, and sometimes sneaks out and goes roaming. The trellis is there to dissuade that. As she has aged this is less and less.


With warmer weather we got the growing pullets well situated into their outside temporary quarters. A fence off area of the garden shed. Until they can be moved into a new secondary coop.
Some bonding time is necessary. Certain breeds like it more than others. Buff Orphingtons are famous for it. I would call these two who love human lap time an good example of that. 


Ell called this Chicken Yin-Yang. They went to sleep like that. Buffs. Great birds. We have a feeling that there will be more buffs in our future.
 Leah and the growing birds, got into the bonding time as well. Enjoying the sun in the play pen area.


Warm weather mean repairs as well. Broke the wheel barrow handles last year. Bought replacements, never got around to it. Finally. Nice to have it done.

 
 The MOST important warm weather chore. Mucking the coop and run entirely. We do a modified deep litter method. So, thick layers of pine straw, a free resource due to a row of white pines as a wind break. After using the pines so much, I would encourage planting them on any property. They produce prodigious amounts of dried needles. Since they are pine, they are natural bug repellant. I can't be sure, but we have not mite problems. Do research on the best litter method for your birds. We piled it deep, mixed with leaves, and turned it occasionally all winter. Broke down well. In this pic we're pulling it all out, onto a tarp, down to the dirt floor. The litter goes to the compost to make rich additives. The inside was scrubbed with a mild bleach solution allowed to dry for hours. 


The inside after cleaning. Looks good for having birds in it. It wasn't very dirty but very dusty. You'll note the respirator on Leah during mucking out above. Wear one. Don't mess with that. It's easy and your lungs are worth it. Birds are known for their dust, and the cleanest chickens can get you very sick indeed. We wear N95 type dust masks for many interior chores that might stir up dust, or keep us in the area for long. We wear full respirators for mucking. Take the advice.


Warm weather brings out lots of birds. Happy to see an Eastern Towhee. Favorite bird of ours.


Egg smiley face, purely by accident, while making omelets. A friend pointed out how yellow they are, a sign of "Winter Eggs". Soon, as the available greens increase, more bugs, etc, the yolks will turn a bright orange.


 Little John the Rooster, calls out his defiance. His days are likely numbered, but for now, strong wire, and a warning sign keep him in his place, and everyone safe. Behind him, the four original hens, ignore his masculine thunders. Still, he has been a good roo for what roos do.